What Is It?
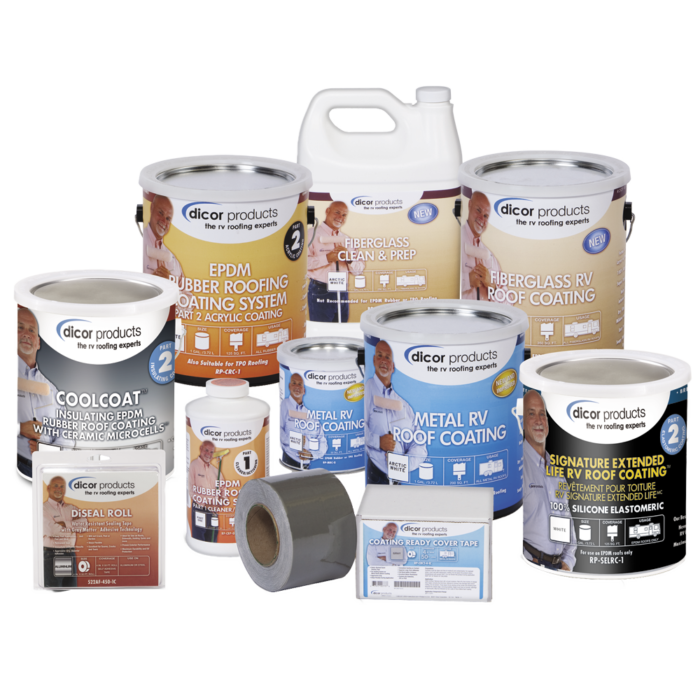
Dicor 501LSW is a butyl-based self-leveling sealant specifically formulated for RV roof applications. Unlike household caulks and silicone products, it is engineered to stay flexible through the extreme thermal cycling that RV roofs experience - from Florida's 160-degree rooftop temperatures in July to cool winter nights. It flows to fill gaps and low spots, creates a watertight membrane over seams and penetrations, and bonds permanently to EPDM rubber, TPO, aluminum, and fiberglass.
How We Use It as RV Technicians
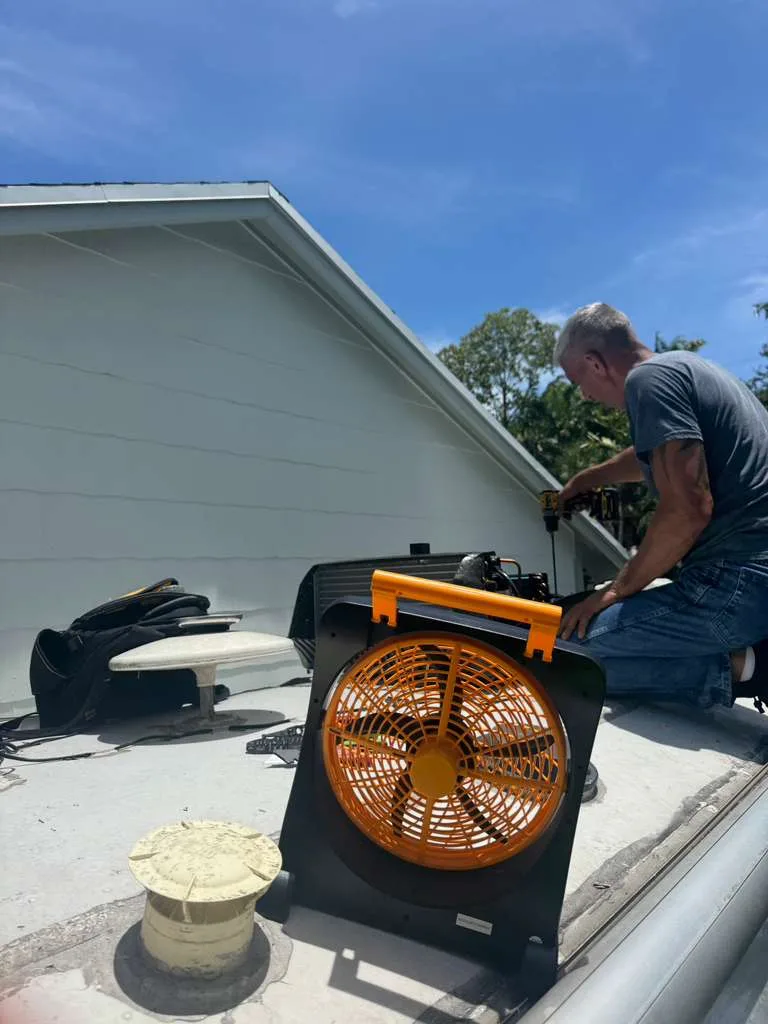
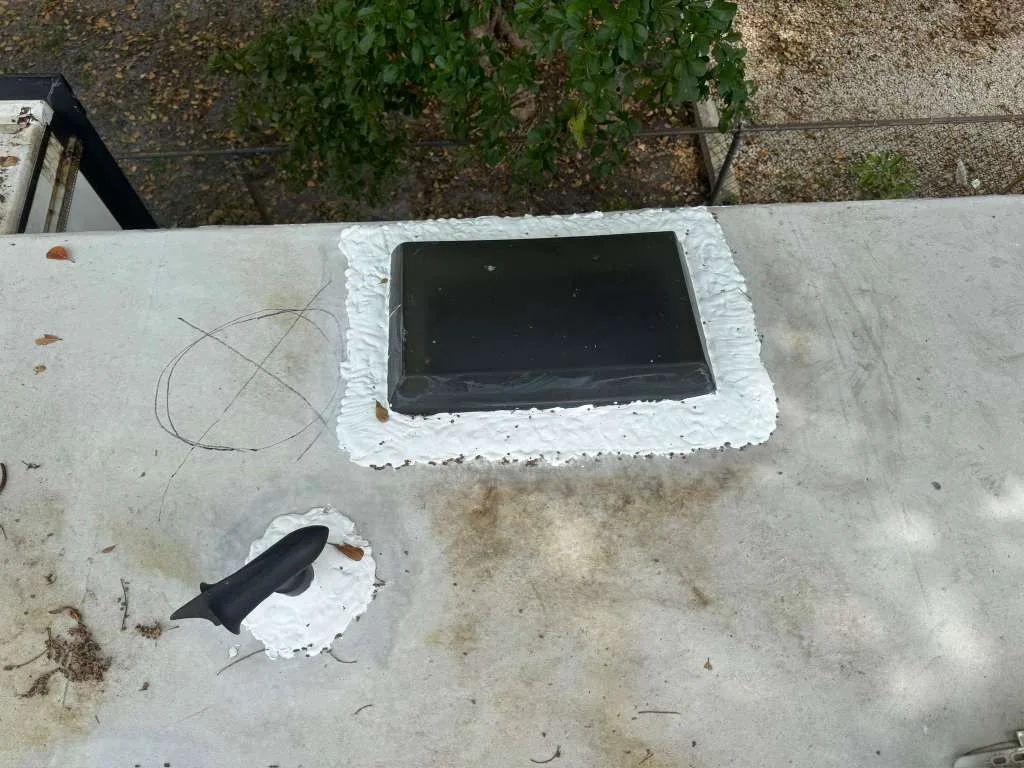
We carry Dicor 501LSW on every service vehicle. On roof inspection calls, we apply it around every vent cap base, every AC unit mounting flange, every skylight frame, every antenna and utility entry point, and along every slide-out roof corner. A properly applied bead - approximately 3/8 to 1/2 inch wide - pushed into the joint before smoothing creates a seal that will outlast everything around it.
The product requires a clean, dry surface to bond correctly. We clean the area with a Dicor prep solvent or clean rag with isopropyl alcohol before application. In Florida's humidity, we also confirm the surface temperature is appropriate - sealant applied to a surface below 40 degrees does not cure properly, which isn't an issue in Winter Haven but matters for the product's general use.
For roof seam repairs, we use 501LSW in combination with EternaBond tape on seams with active separation - the tape provides structural reinforcement while the sealant fills the perimeter and creates a watertight transition.
Why Every RV Owner in Winter Haven Should Have This
RV owners in Winter Haven should keep one or two tubes of 501LSW on hand for the same reason they keep duct tape in the junk drawer - Florida weather creates urgent situations. A roof vent seal that starts weeping during a summer squall can drip on your ceiling fabric for weeks before you notice the damage developing. Having Dicor 501LSW on board lets you address the problem immediately rather than waiting for a service appointment.
Application is straightforward: clean the surface around the failing seal, cut the sealant tube tip to 3/8 inch, run a bead around the perimeter of the vent or fitting, and smooth it slightly with a wet finger. For best results, apply it the evening before a forecasted rain so it has time to skin over. This is a maintenance task any RV owner can handle themselves for minor seal maintenance.
Real Job Story from Winter Haven
A couple from Lake Alfred called us at 7 AM on a Wednesday. They had noticed water dripping onto their kitchen slide-out ceiling after the previous night's thunderstorm. The drip wasn't heavy - just a slow staining that had soaked through about 6 inches of ceiling fabric.
We arrived at their Auburndale storage lot that afternoon. The leak source was the forward AC unit base on the driver's side - the original factory sealant had oxidized and cracked over what appeared to be 3 to 4 years of Florida sun exposure. The crack was barely visible to the naked eye but was channeling water through the roof substrate during heavy rain.
We cleaned the AC base perimeter, removed the cracked old sealant using a plastic scraper, applied fresh primer, and ran a new bead of Dicor 501LSW around the entire AC perimeter - approximately 12 linear feet total. The whole repair took 45 minutes and used less than half a tube of product.
The total cost was one tube of sealant and labor. Had they waited another season, the water infiltration would have reached the roof substrate wood and potentially the ceiling panel framing - a repair that runs $600 to $1,500 depending on damage extent.