Why RV Leaks Are Difficult to Find
An RV roof leak is rarely directly above where it appears inside the coach. Water that enters through a failed seal on the roof - whether at a vent base, AC unit perimeter, or seam - immediately migrates along the roof structure following the path of least resistance. The plywood or foam roof decking, ceiling insulation, and structural supports all provide migration paths that can carry water laterally 2 to 8 feet from the entry point before it finally drips onto a ceiling panel.
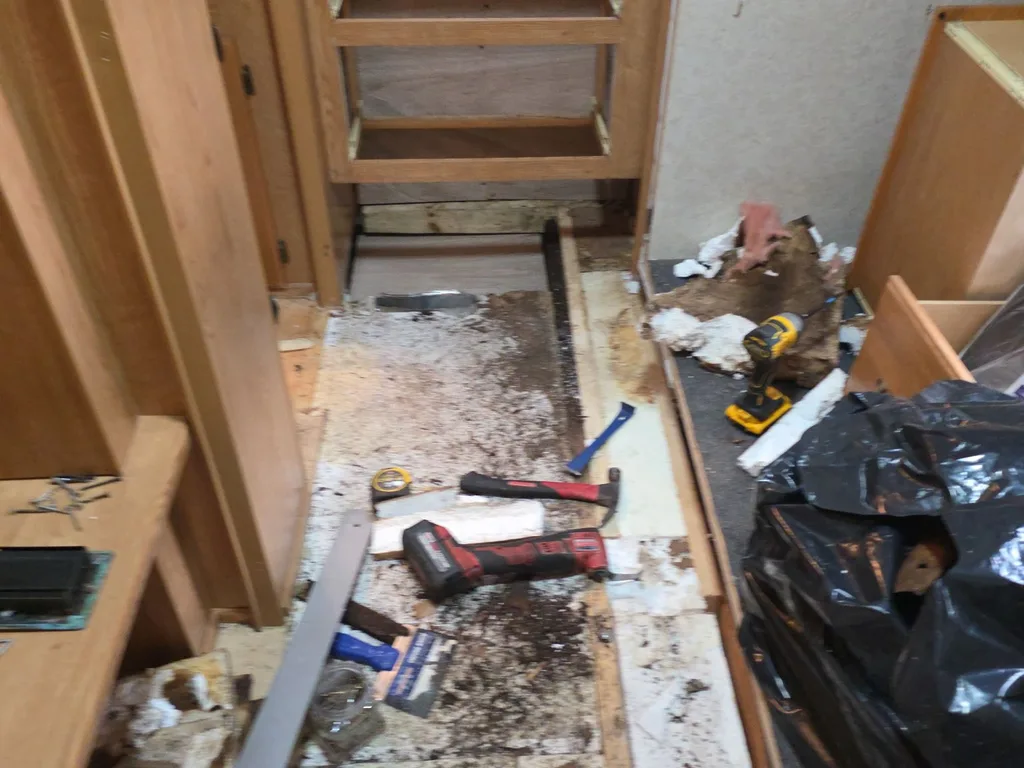
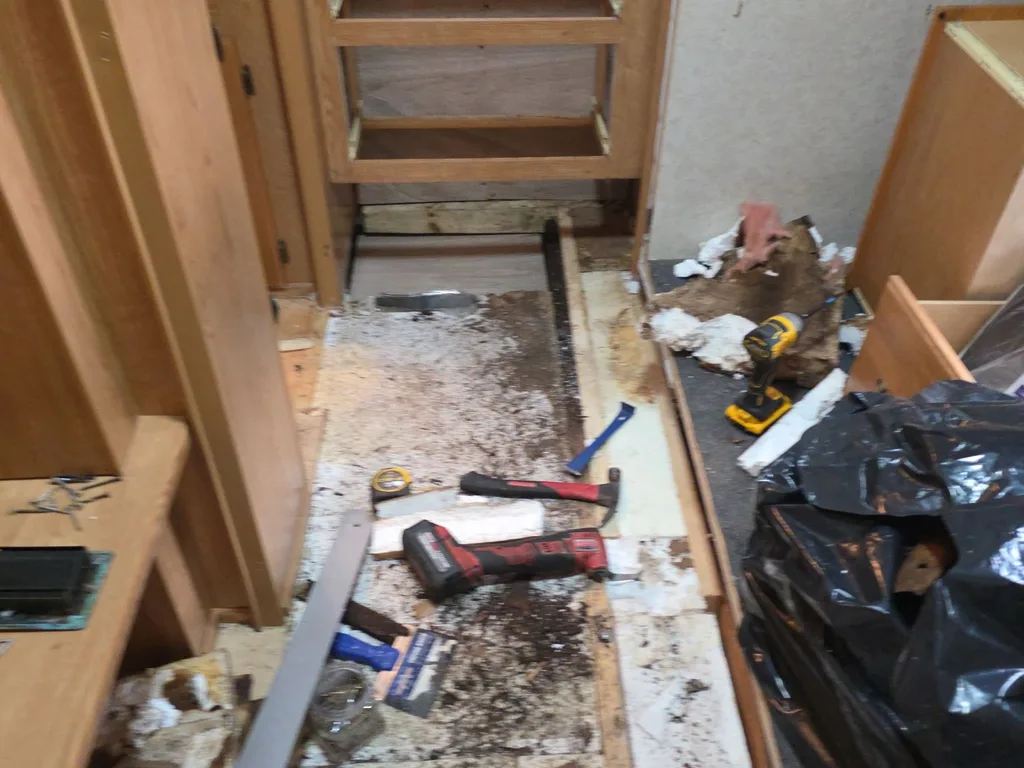
This means that tracing a ceiling stain straight up to the roof surface will often lead you to an area with no obvious seal failure, because the entry point is several feet away. Owners who attempt DIY leak tracing by applying sealant to whatever is directly above the stain often address the wrong location, and the leak continues.
The same migration principle applies to slide-out leaks. Water that enters at a slide-out corner seal can travel down the inside of the wall framing and appear as floor damage at the base of the wall - several feet from and below the actual entry point at the roof line.
Our Leak Detection Process
We use a systematic section-by-section hose test approach that is more reliable than visual inspection alone. The process requires one person inside the RV watching for water appearance while another controls the hose on the roof.
We begin at the lowest suspected entry point and work upward. For a stain appearing near the front of the RV, we start by thoroughly wetting the front cap-to-roof junction and all seals in that area, then waiting 5 minutes for any water to appear inside. If no water appears, we move to the next section toward the rear.
This section-by-section approach isolates the entry zone progressively. When we wet a specific area and water appears inside, we have narrowed the entry to that roof section. We then test specific penetrations within that section (individual vents, AC base, cable entry) to identify the precise point.
Moisture meter mapping complements the hose test. We probe the ceiling and walls systematically with a calibrated moisture meter, building a moisture map of the affected area. The moisture gradient typically points toward the entry zone - areas near the entry point have higher readings than areas further away.
For difficult-to-find leaks where the entry point is not identifiable through hose testing, we recommend thermal imaging. A thermal camera can identify moisture in structural cavities through the temperature differential between wet and dry material - wet areas appear distinctly cooler in thermal imaging. We can arrange thermal imaging service as part of complex leak investigations.