What Causes Soft Spots in RV Floors and Ceilings
A soft spot in your RV floor or ceiling - an area that yields or feels spongy when you press it - is not a cosmetic issue. It is a structural warning that water has infiltrated the affected area and begun breaking down the wood substrate beneath the surface material. In an RV, that substrate is typically 1/2-inch or 3/4-inch plywood or Luan paneling - materials that break down relatively quickly when persistently wet.
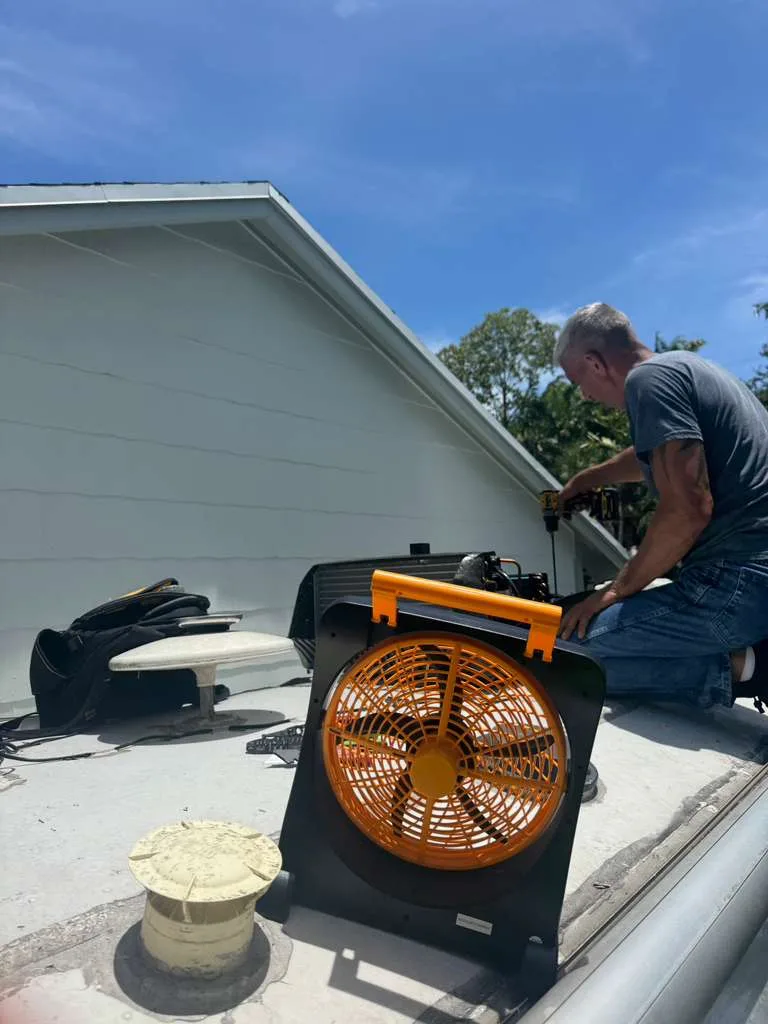
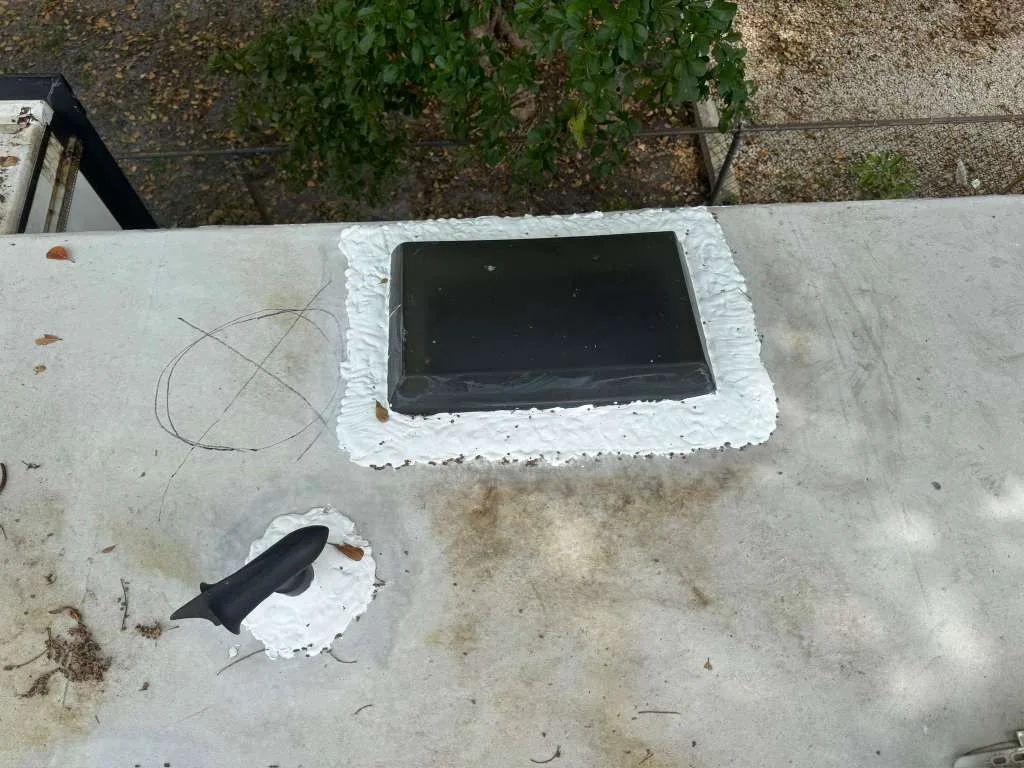
In Winter Haven's high-humidity, high-rainfall climate, the progression from water infiltration to structural damage is significantly faster than in drier climates. A roof seal failure that produces a small drip during rain events can create a soft spot in 2 to 3 seasons in the Pacific Northwest climate. The same failure in Winter Haven's summer rainy season can create a soft spot in a single season - particularly in areas with poor ventilation where moisture cannot evaporate between rain events.
Understanding where soft spots form helps identify the source of water. Floor soft spots near the kitchen slide-out base almost always indicate slide-out seal failure or corner seal separation.
Ceiling soft spots near the AC unit base indicate AC perimeter seal failure. Soft spots at the front of the RV near the front cap-roof junction indicate front seam failure - a common problem on older rigs where the sealant has completely separated from the front cap.
How We Assess Soft Spot Damage
Our soft spot assessment is systematic and produces a clear picture of the damage extent before we recommend any repairs. This matters because the visible soft area is rarely the full extent of the damage.
We begin with a visual and tactile survey of the affected area, pressing systematically around the soft spot to map its perimeter. We then use a calibrated moisture meter to measure moisture content in the structural wood through the surface material.
Moisture readings above 16 percent indicate active or recent wetting; readings above 20 to 25 percent indicate ongoing damage. Readings at this level confirm the problem is current rather than historic.
For ceiling soft spots, we investigate the roof directly above with the same moisture meter and a visual inspection of all sealant within a 3-foot radius of the soft area. For floor soft spots near slide-outs, we inspect the slide-out seal condition from both inside and outside.
After mapping the damage extent and identifying the water entry point, we provide a clear repair scope: seal the entry point, address any interior mold, replace the damaged structural substrate with correctly sized treated lumber or plywood, and restore the surface material. We sequence these steps correctly - sealing the entry before structural replacement is essential.
Soft Spot Repair Process
Soft spot repair begins with permanently sealing the water entry point - not with cutting out the soft wood. Repairing the structural damage without sealing the entry simply replaces good wood with new wood that will be damaged again in the next rainy season.
After confirming the seal is complete, we address any mold growth with appropriate antimicrobial treatment. Mold in RV structural cavities is common when moisture has been present for more than a few weeks - Florida's warm temperatures accelerate mold growth significantly.
The structural repair itself involves accessing the damaged substrate, removing all material that reads above 15 percent moisture on our meter or shows visible rot, treating the surrounding area with borate wood preservative, and installing replacement substrate of equivalent specification. We restore the surface material (ceiling fabric, floor covering, or wall skin) to its original appearance.
The final step is a post-repair moisture test - we verify the repaired area reads at ambient moisture levels before closing the job, confirming the repair is complete and dry.